Curing Meats – Making Salami
One of my other hobbies is food. I do a lot of cooking, with a particular interest in slow cooking: I regularly fire up my smoker and cook a pork shoulder or brisket, and I’ve started learning the finer points of sous vide cooking. One thing I have been interested in is curing meat.
My mates Matt and Lachlan also expressed an interest, so we booked to a course at The Artisan’s Bottega. During the course the instructor explained to us that there was only a couple of weeks of meat curing weather left – they need to be done before it got too hot. None of us wanted to wait a whole year, so we – with help from some other friends: Remo and Dan – decided to do our first ever batch the weekend after.
Ordering the meat
To keep things manageable, we ordered 12kg of pork shoulder from Paddock to Table in Laverton (we also ordered 3kg of pork belly to make bacon). Luckily the butcher was himself an experienced salami maker, and knew exactly what we needed. Since I have a Kitchenaid with a mincing and sausage attachment, we opted for it to be boned, but not minced.
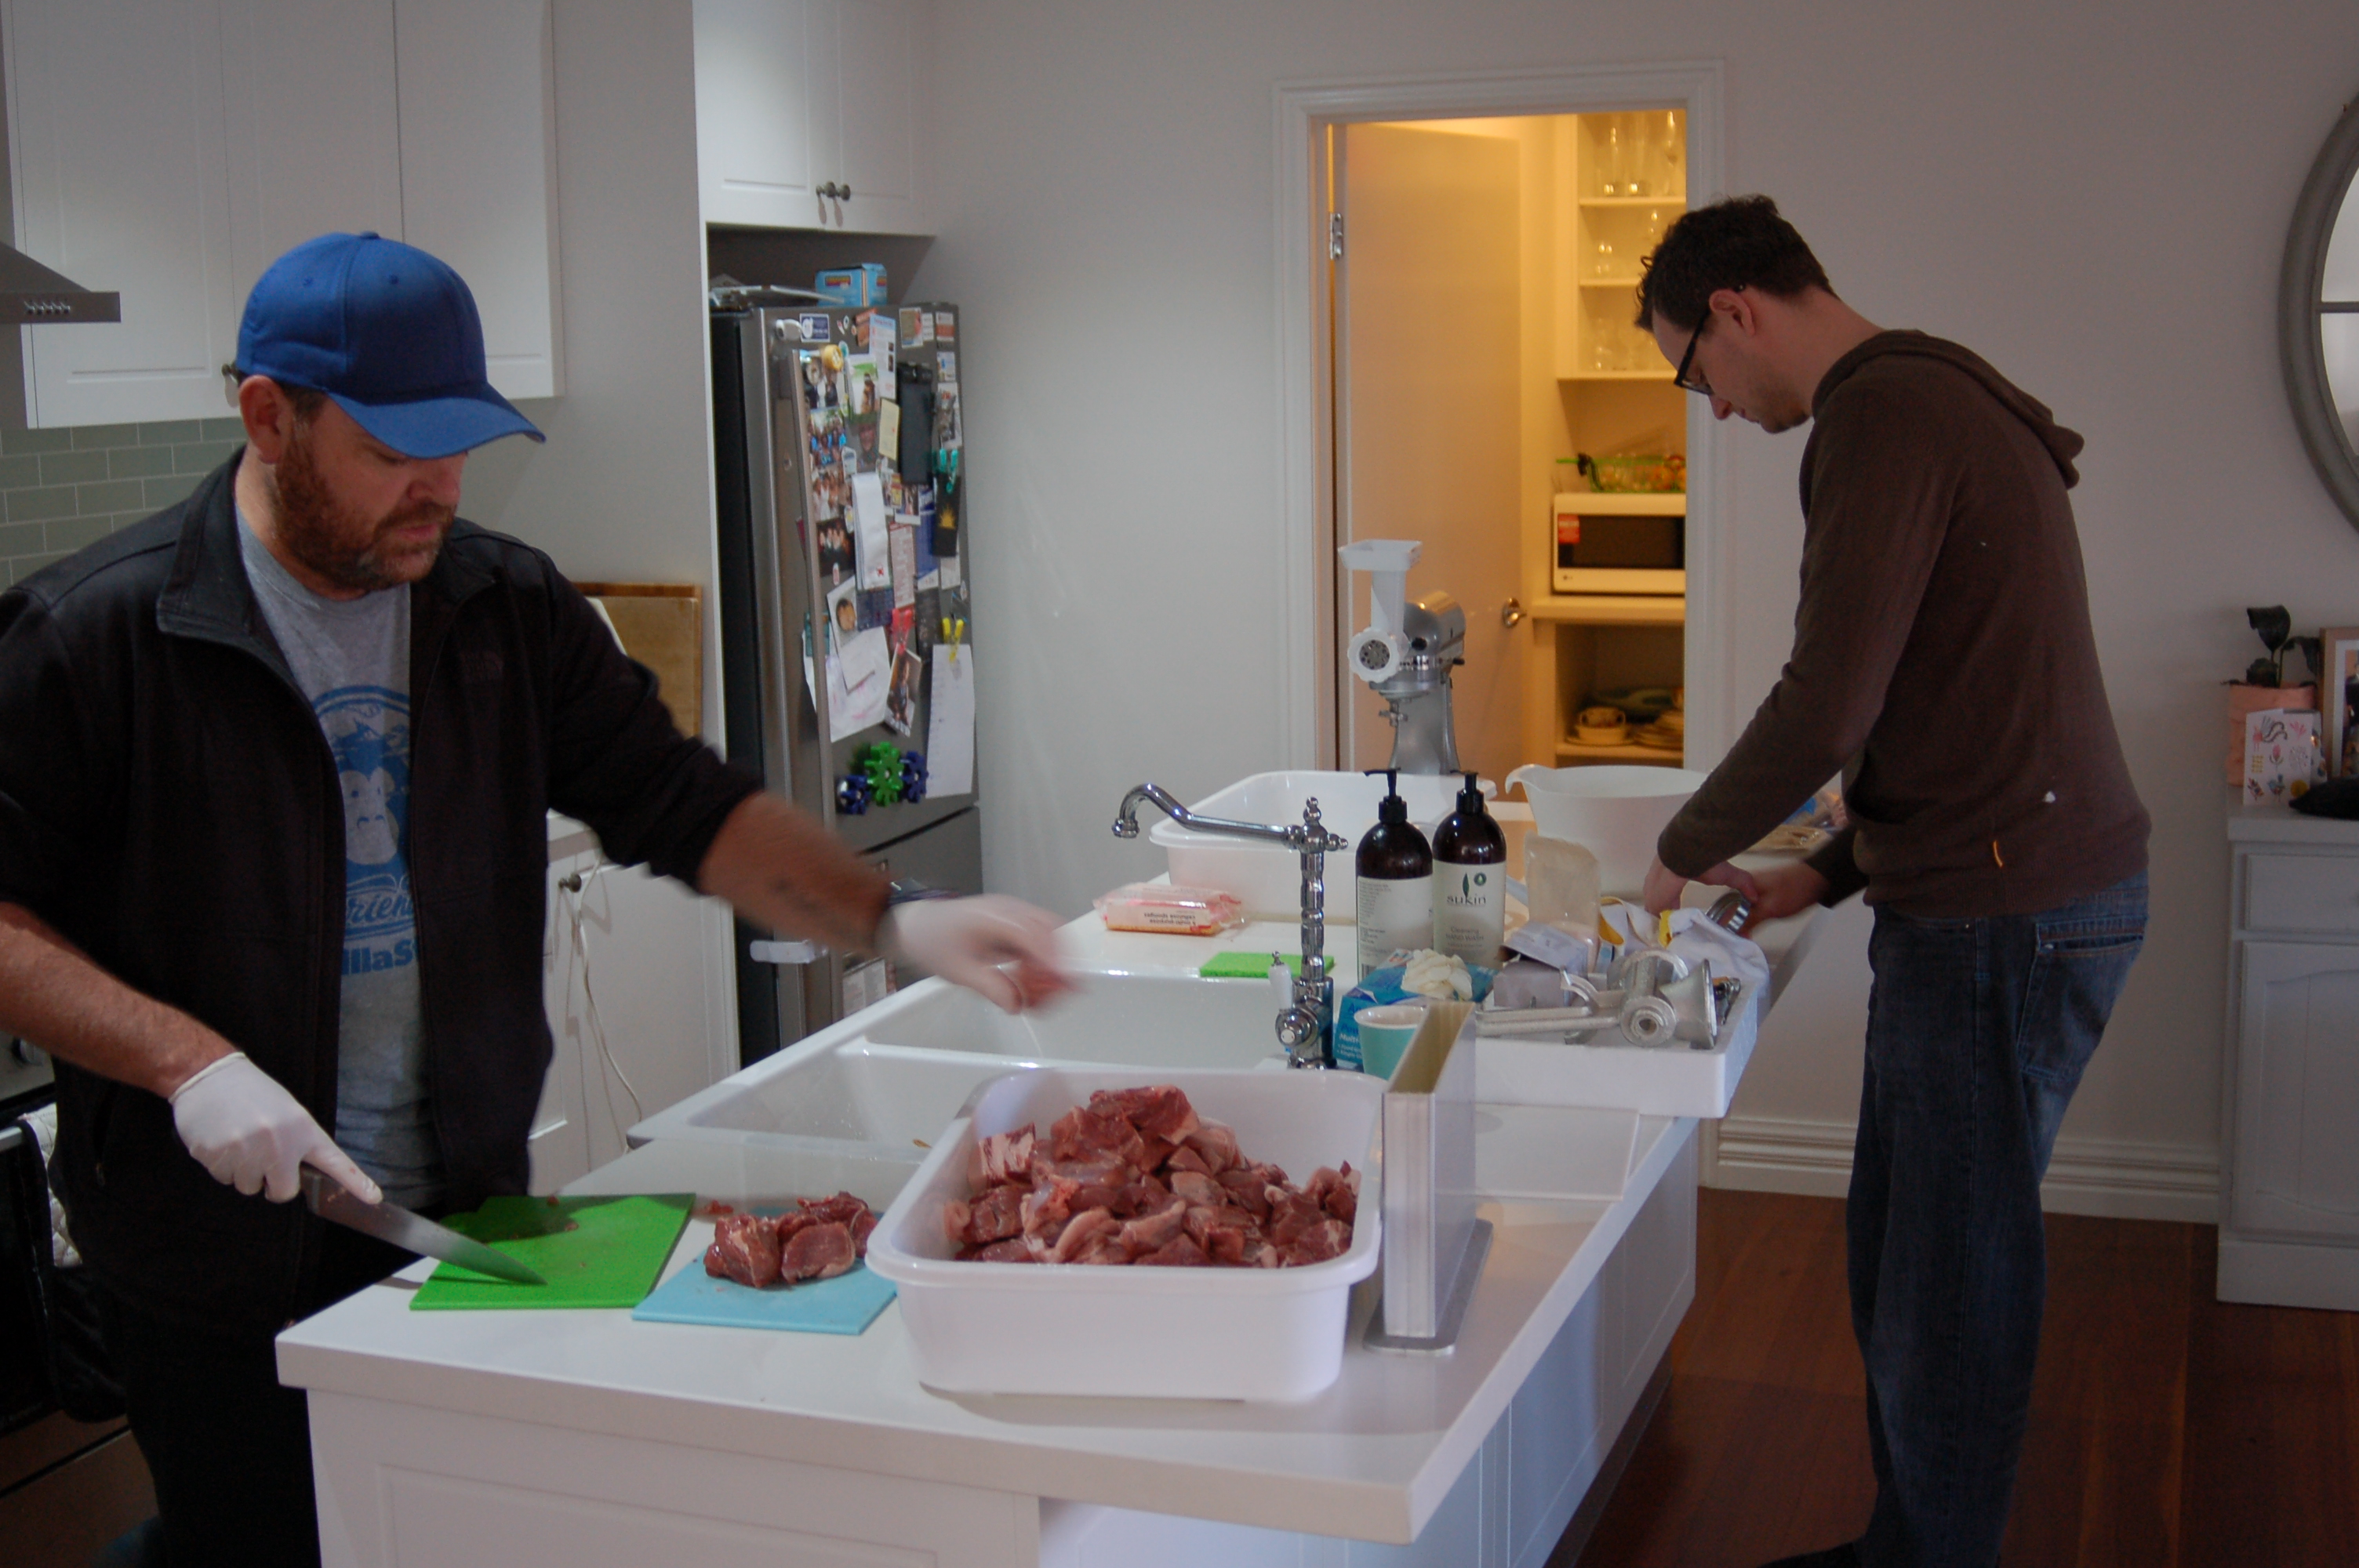
Having it boned cost a couple of bucks a kilo more, but meant we didn’t have to do it – saving us a bunch of time. It’s better to mince it fresh though, as minced meat has a much bigger surface area than unminced meat, which bacteria loves. Something that bacteria doesn’t love is curing salt, so we quickly minced the meat, got it salted and flavoured.
Flavours
We did two batches: a very traditional one, and a second moroccan inspired one (global head of flavour, Lachlan was freestyling).
Salami 1
- 5kg pork + fat
- 8 cloves garlic
- 5 tbs smokey paprika
- 5 tbs chilli flakes
- 1.5 tbs ground fennel seeds
- 0.5 tbs garlic powder
- 1tbs ground cumin
- 150g passata
- 110g flaked salt
- 2 cups Sangiovese
Salami 2
- 5kg pork + fat
- 2 tbs ground cumin
- 2 tbs ground coriander seed
- 2 tbs Hungarian paprika
- 1 tsp cayenne pepper
- 1 tsp ground cloves
- 1 tsp cracked black pepper
- 150g passata
- 110g table salt
- 1 cup Sangiovese
We were advised to cook up a little bit to test for flavours (which is what you do when you make fresh sausages), but to bear in mind that the sample will taste saltier than the final product (more on this later).
Lunch
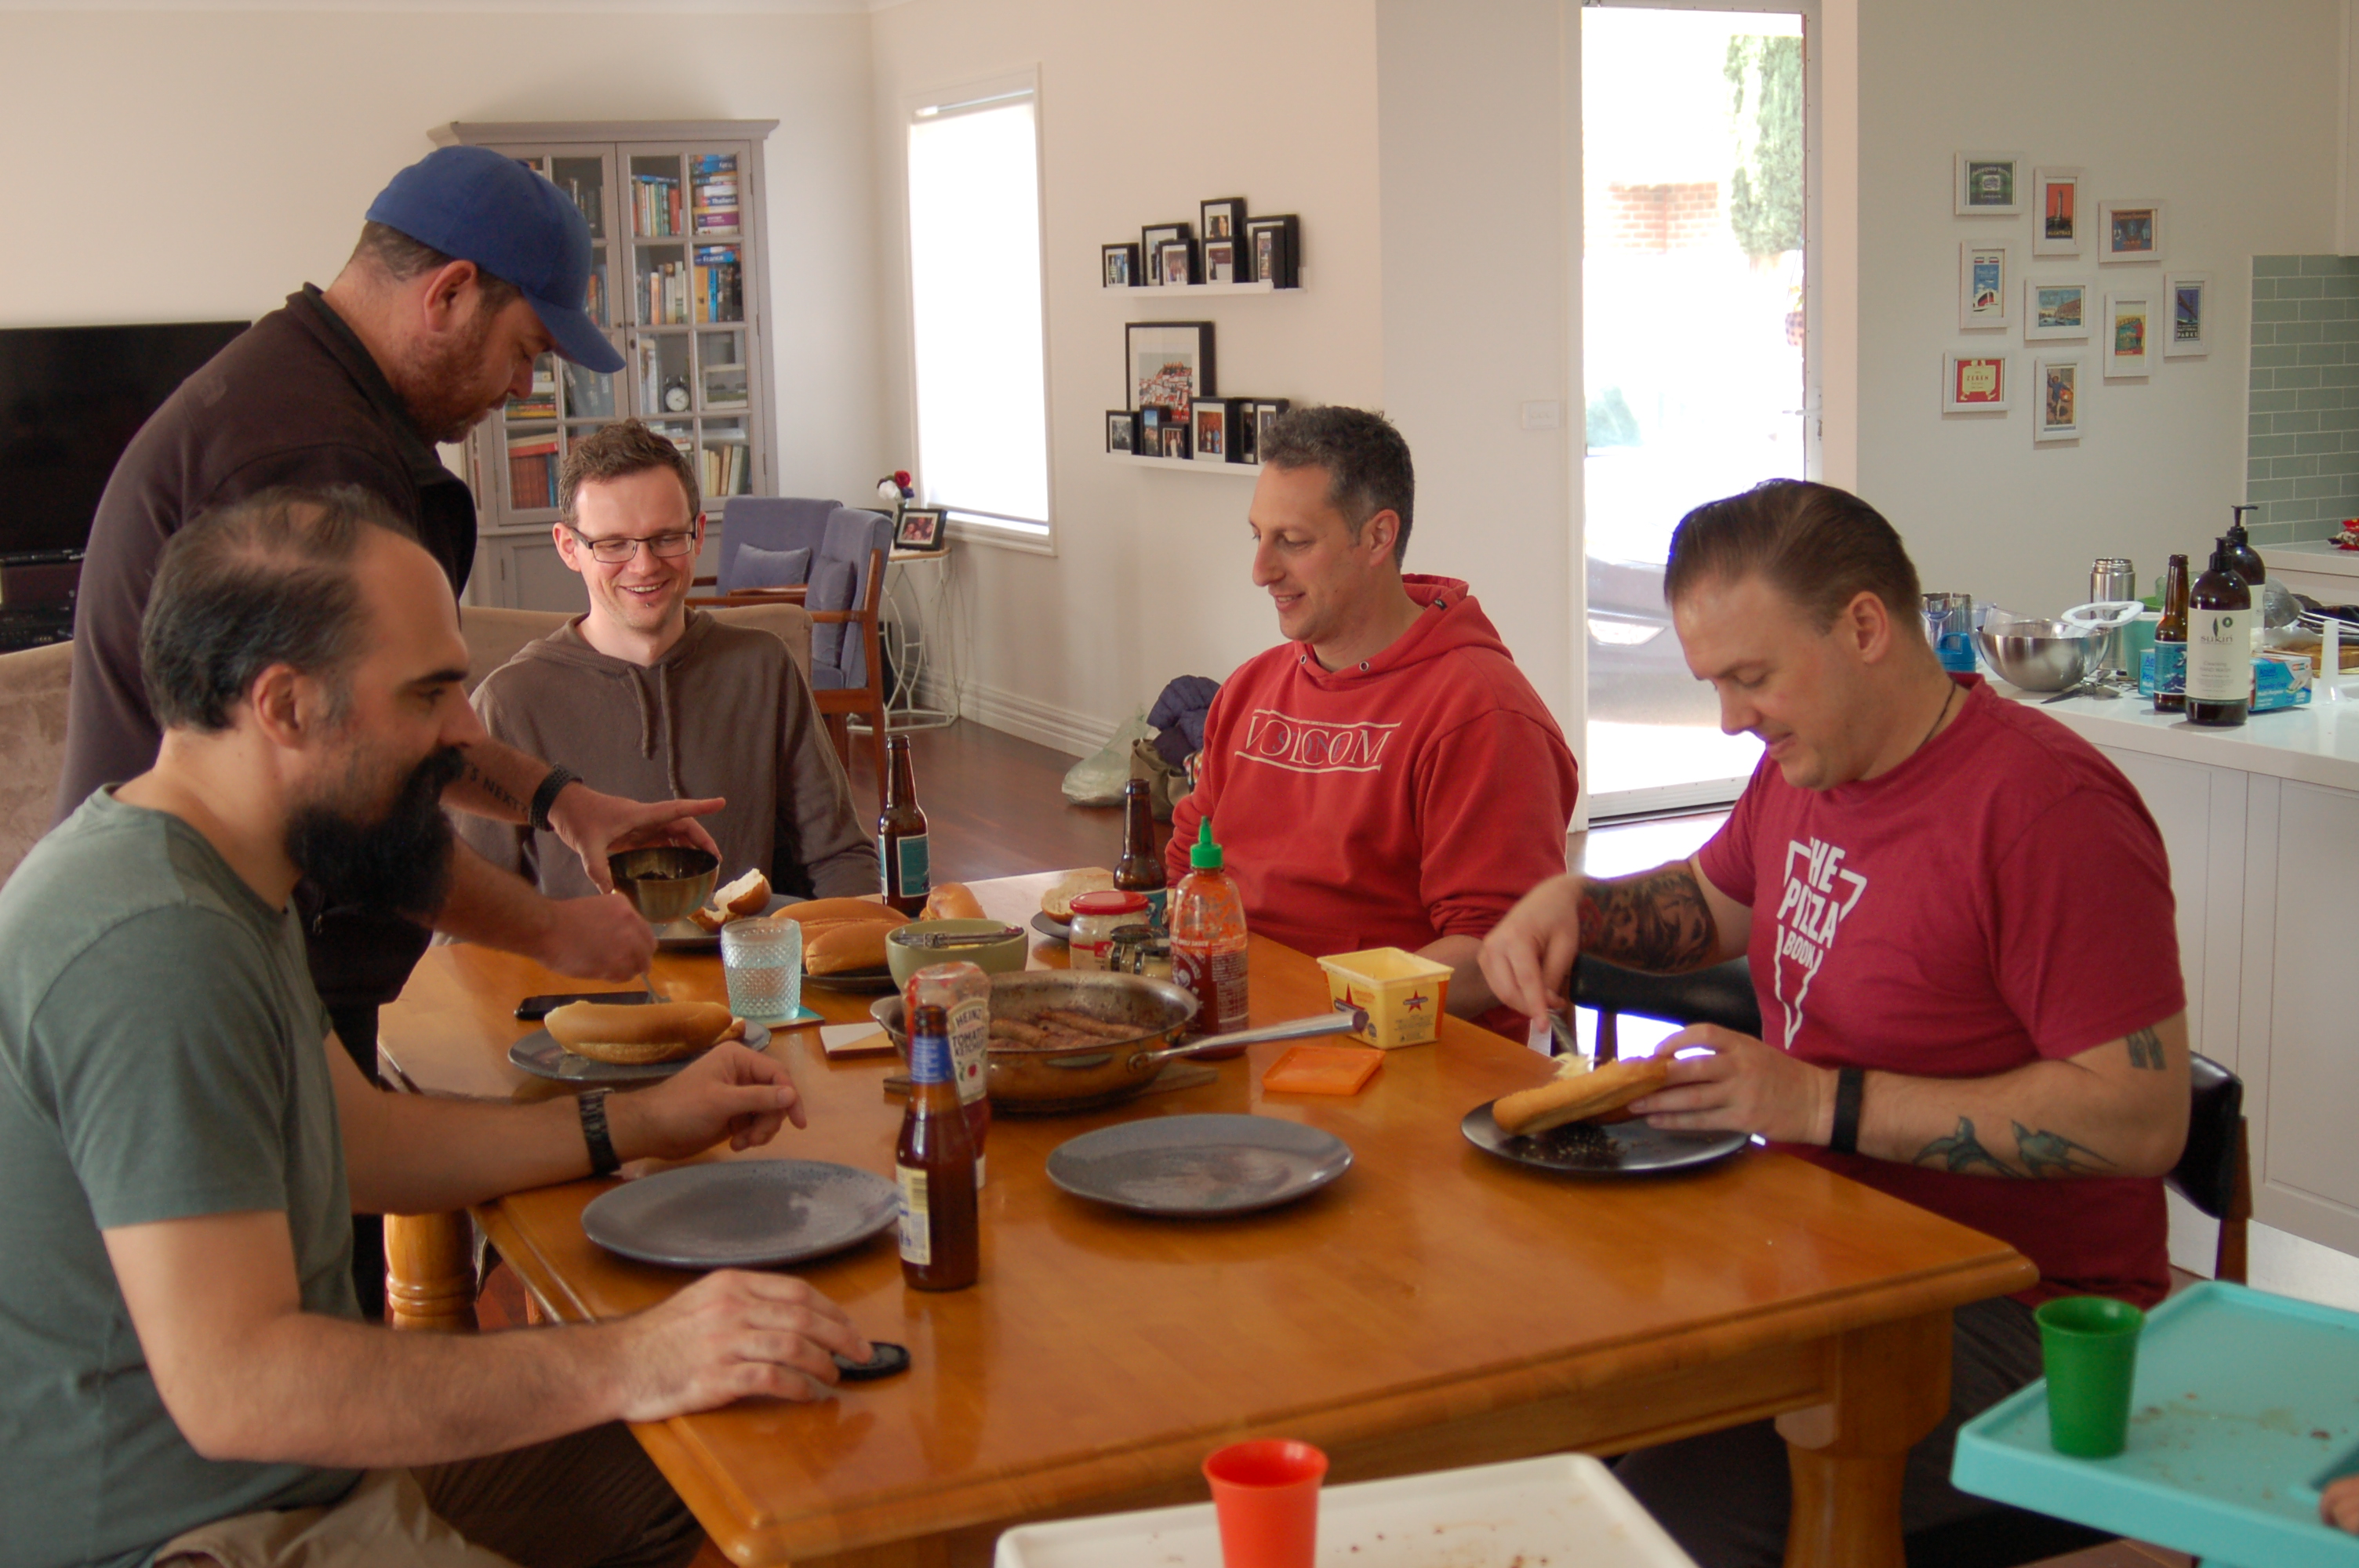
The salami kits we got given during the course had enough stuff to make 10kg, so we turned the remaining 2kg of meat into fresh sausages. This turned out to be an excellent idea: not only did it use up the remaining sausage cases I had, it provided us all with a delicious lunch.
Prepping the casings
The kits we had gave us synthetic casings, which we needed to be soaked in water before use – we threw them in a bowl
of water for 30 minutes while we prepped the mince.
Equipment
We used the following:
- Kitchenaid with the meat grinder and sausage attachment. Use the coarse plate (the one with the bigger holes)
- Two plastic tubs for mixing the meat
- An old tennis ball tube and beer bottle to help get the netting on.
- A metal bowl for soaking the casings
- Food safe Latex gloves
Cleaning
Bacteria loves raw meat, so we cleaned all of our equipment using a 1:1 mixture of white vinegar and water.
You can apparently also get food safe cleaning alcohol, but we used what we had.
Prepping the mince
Using the coarse grinding attachment on the Kitchenaid we ground the meat into plastic trays – 5kg in to each.
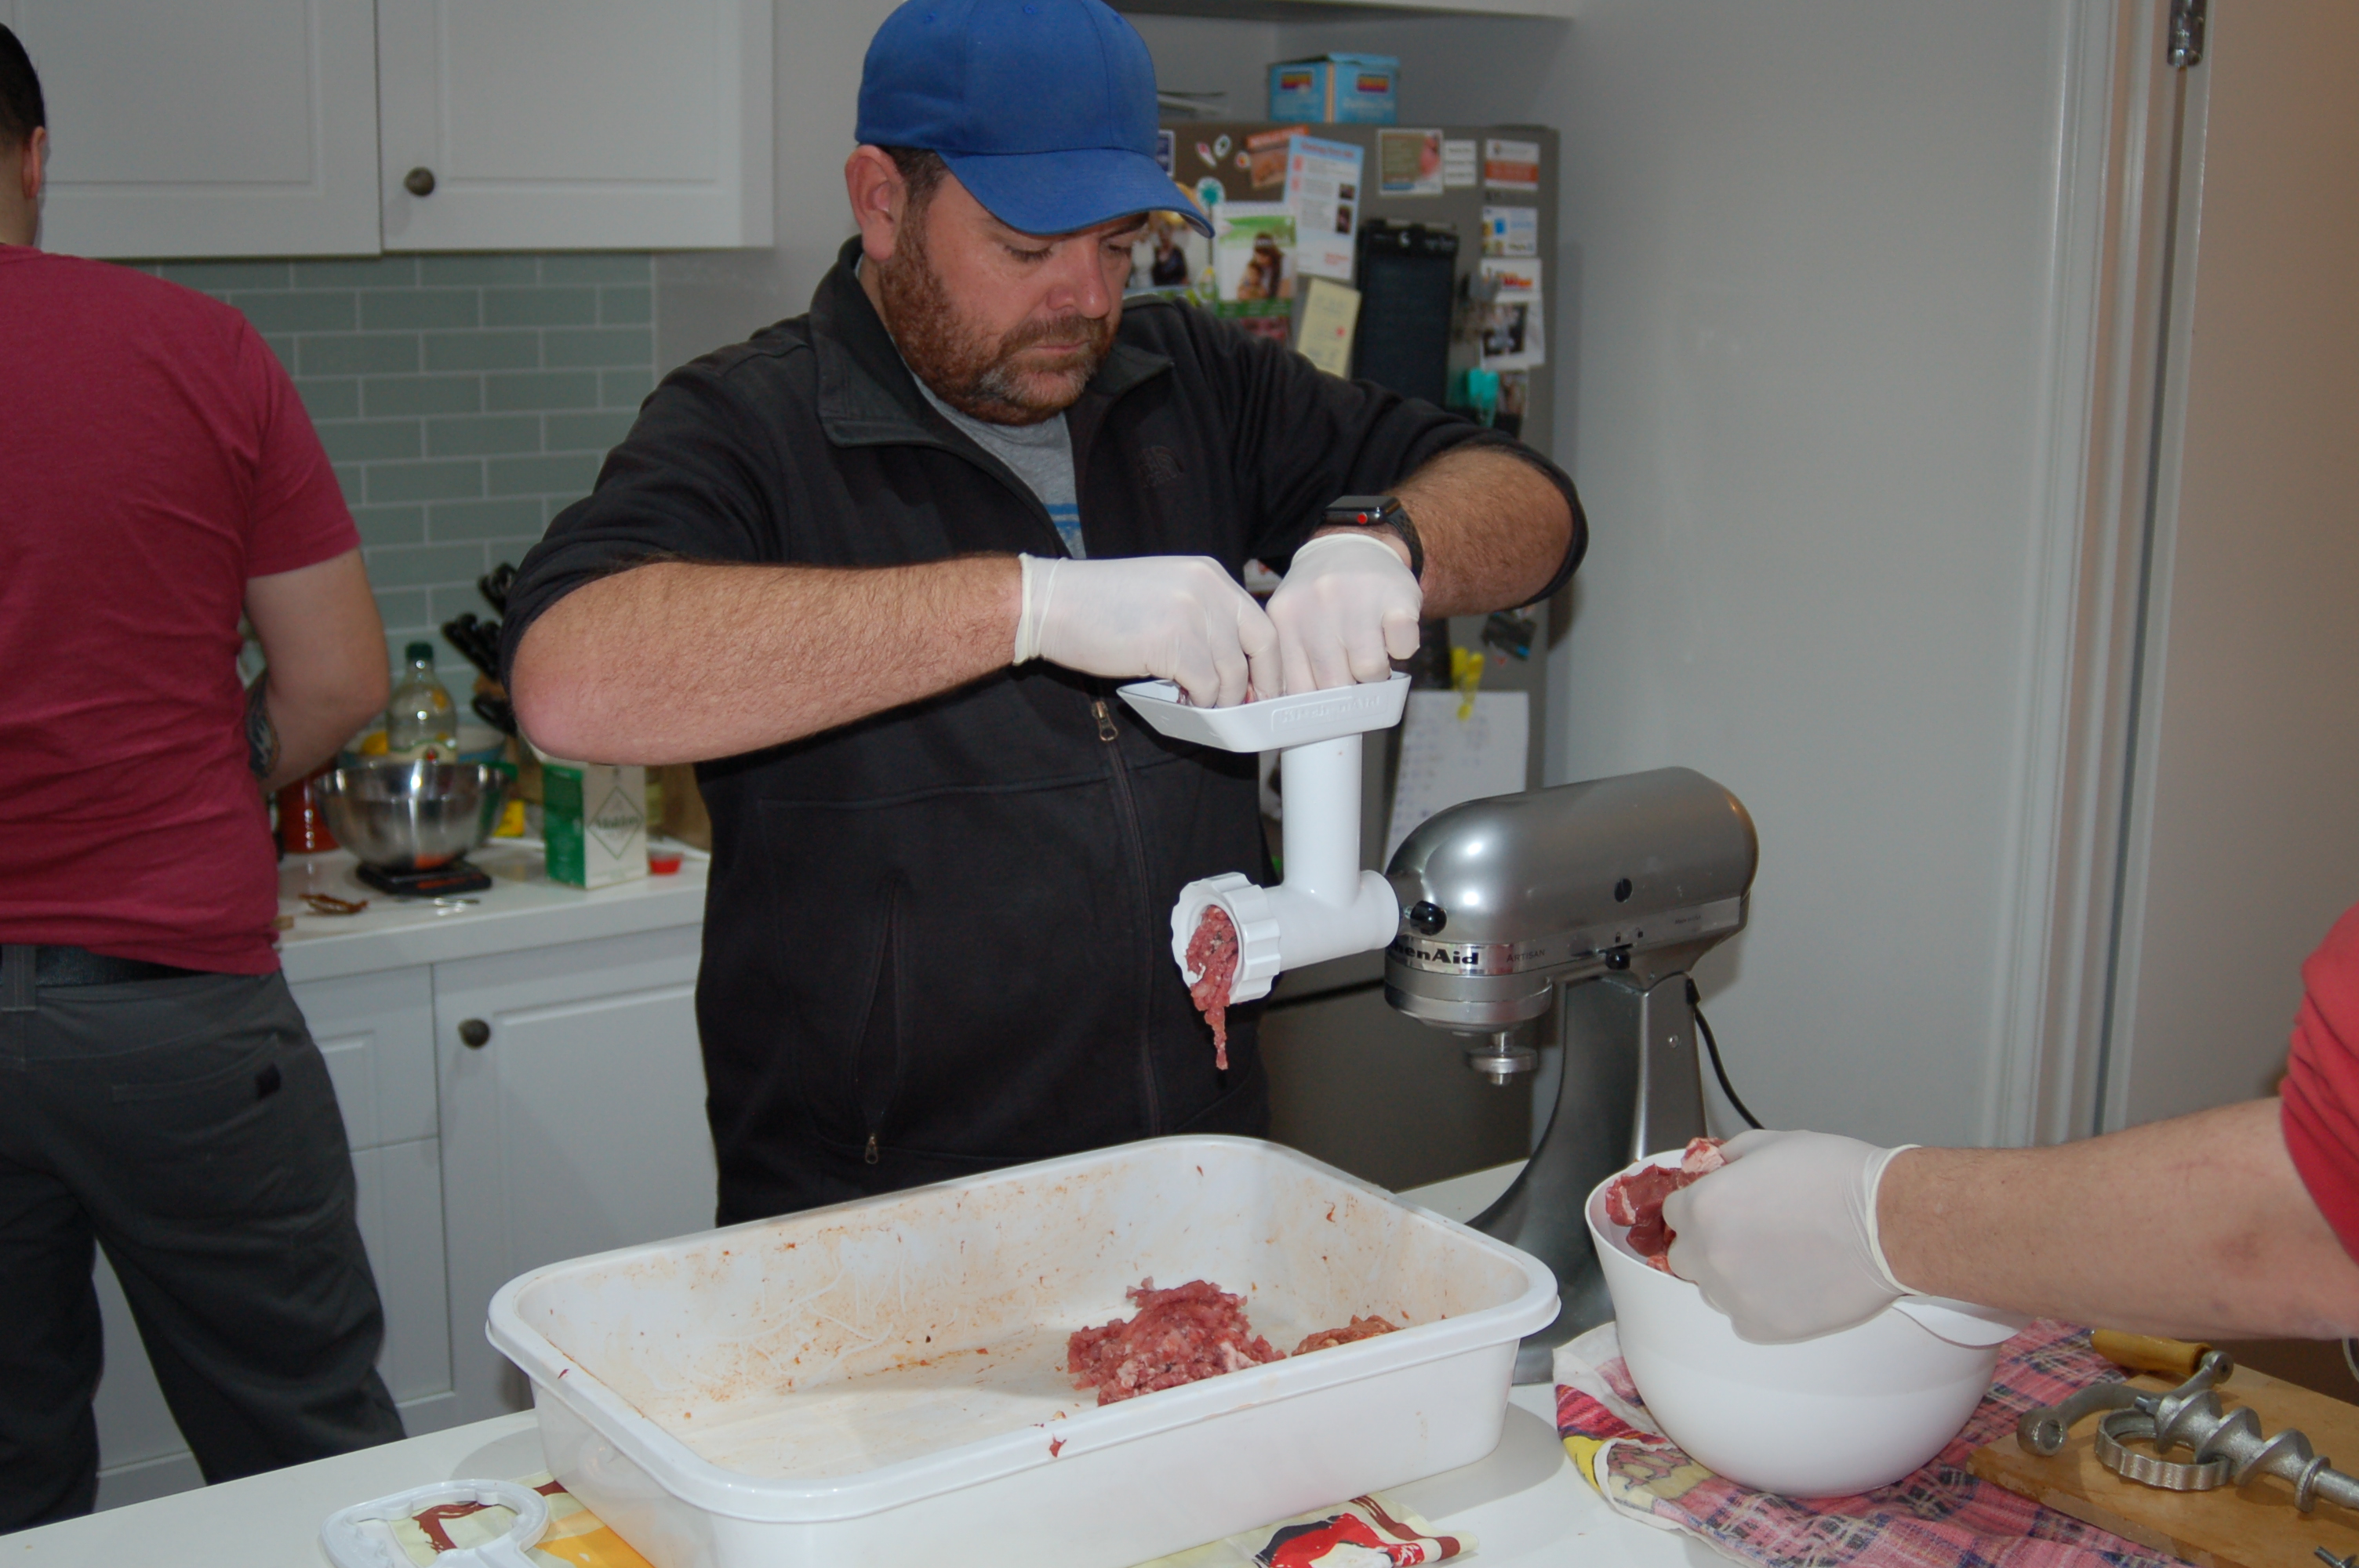
Next, we sprinkled the regular salt and curing salt, poured over the sauce and combined. You really need to combine the meat well – the mixture should be quite dense. Use a grabbing action, and don’t forget to scoop up the meat from the bottom of the tray to make sure it all gets a good massage.
Our instructor gave us a handy hint: if you grab a handful of meat and hold it upside down, it should stick to your hand.
Stuffing the casings
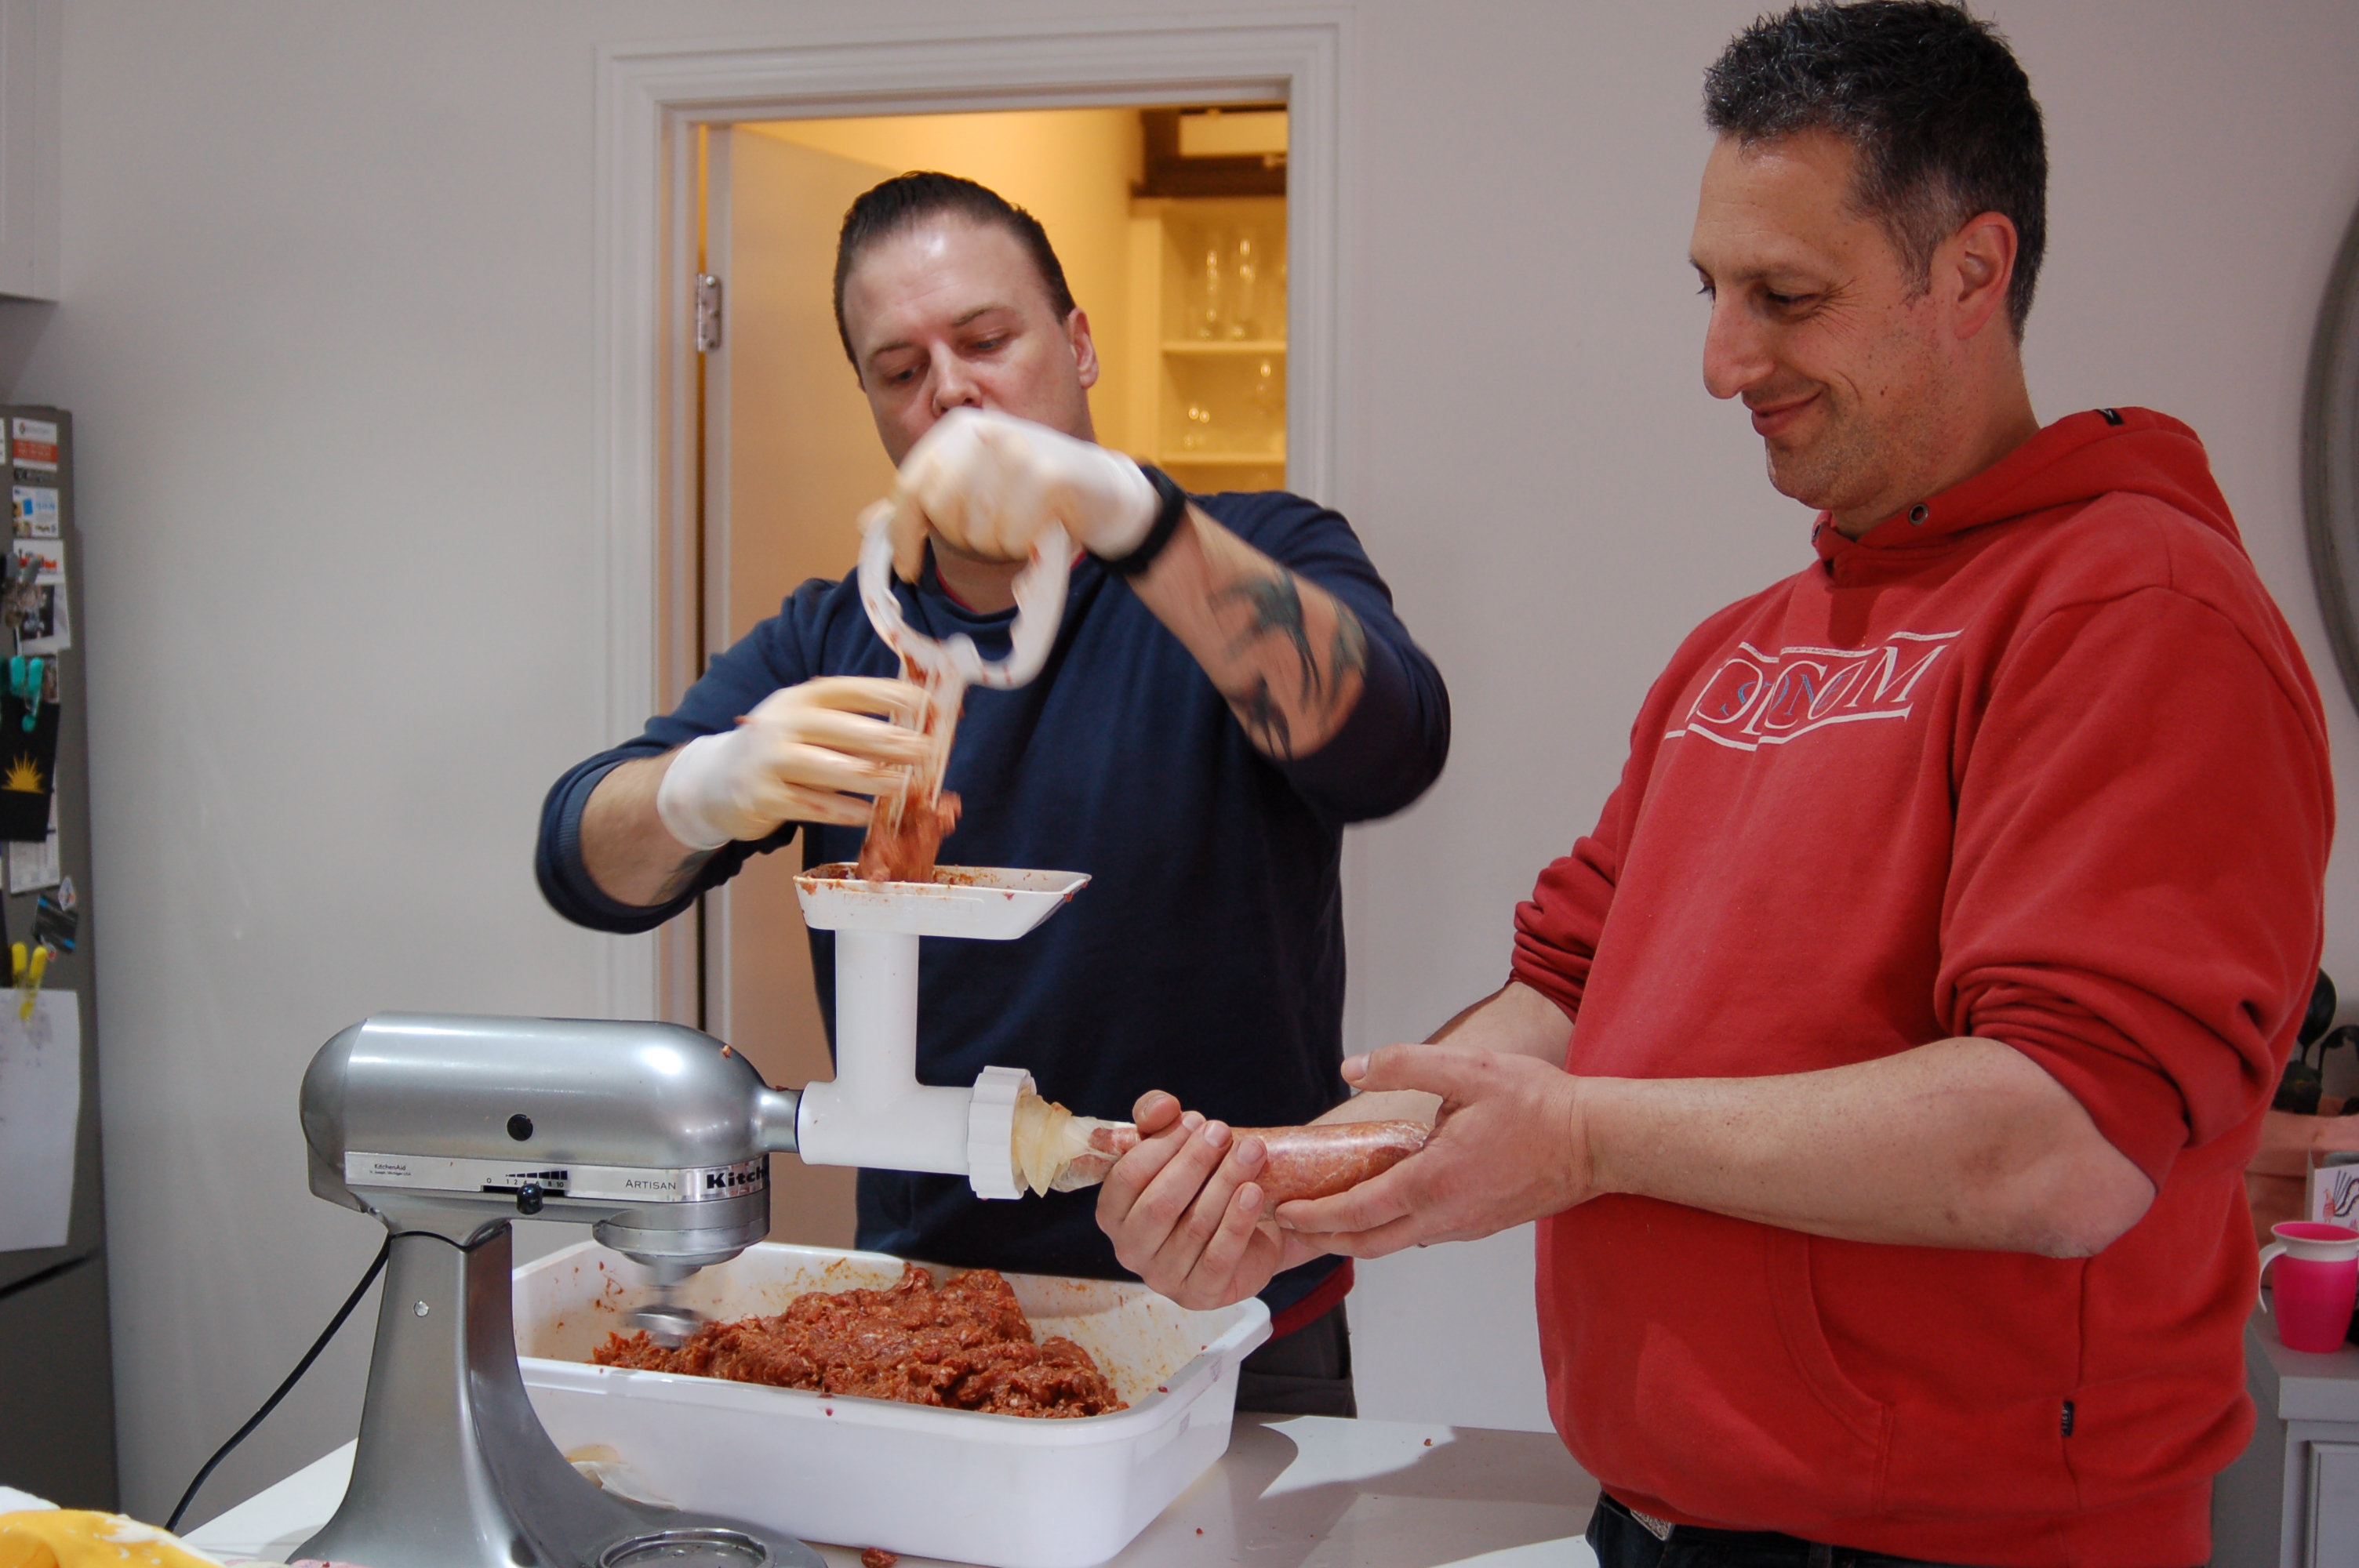
Using the sausage attachment on the Kitchenaid, we filled each casing. This is a pretty crucial step to get right, as there can be no air with in the sausage – air breeds bacteria. While the sausage attachment did an ok job, there are dedicated sausage stuffers that looks like a massive syringe that will do a much better job.
Tying off
The final step is to tie off each sausage. As we were using synthetic casings, one end was already closed, so we only needed to do one knot. We first pinched the end to get out as much air as possible, then twisted to give us a spot to tie the butcher’s string.
The knot will be used to hang the salami, so make sure they are tight – we used an under and over technique, so there was around three single knots, finishing with a final double knot. Leave enough string to create a loop.
Give the end of the casing a little rinse in water to get rid of any meat that may have lodged there.
To get out any extra air, we also tied a string around the middle of the salami and pulled it tight (the synthetic casings are pretty strong – I imagine the natural casings wouldn’t take as much pressure). Tie the string off.
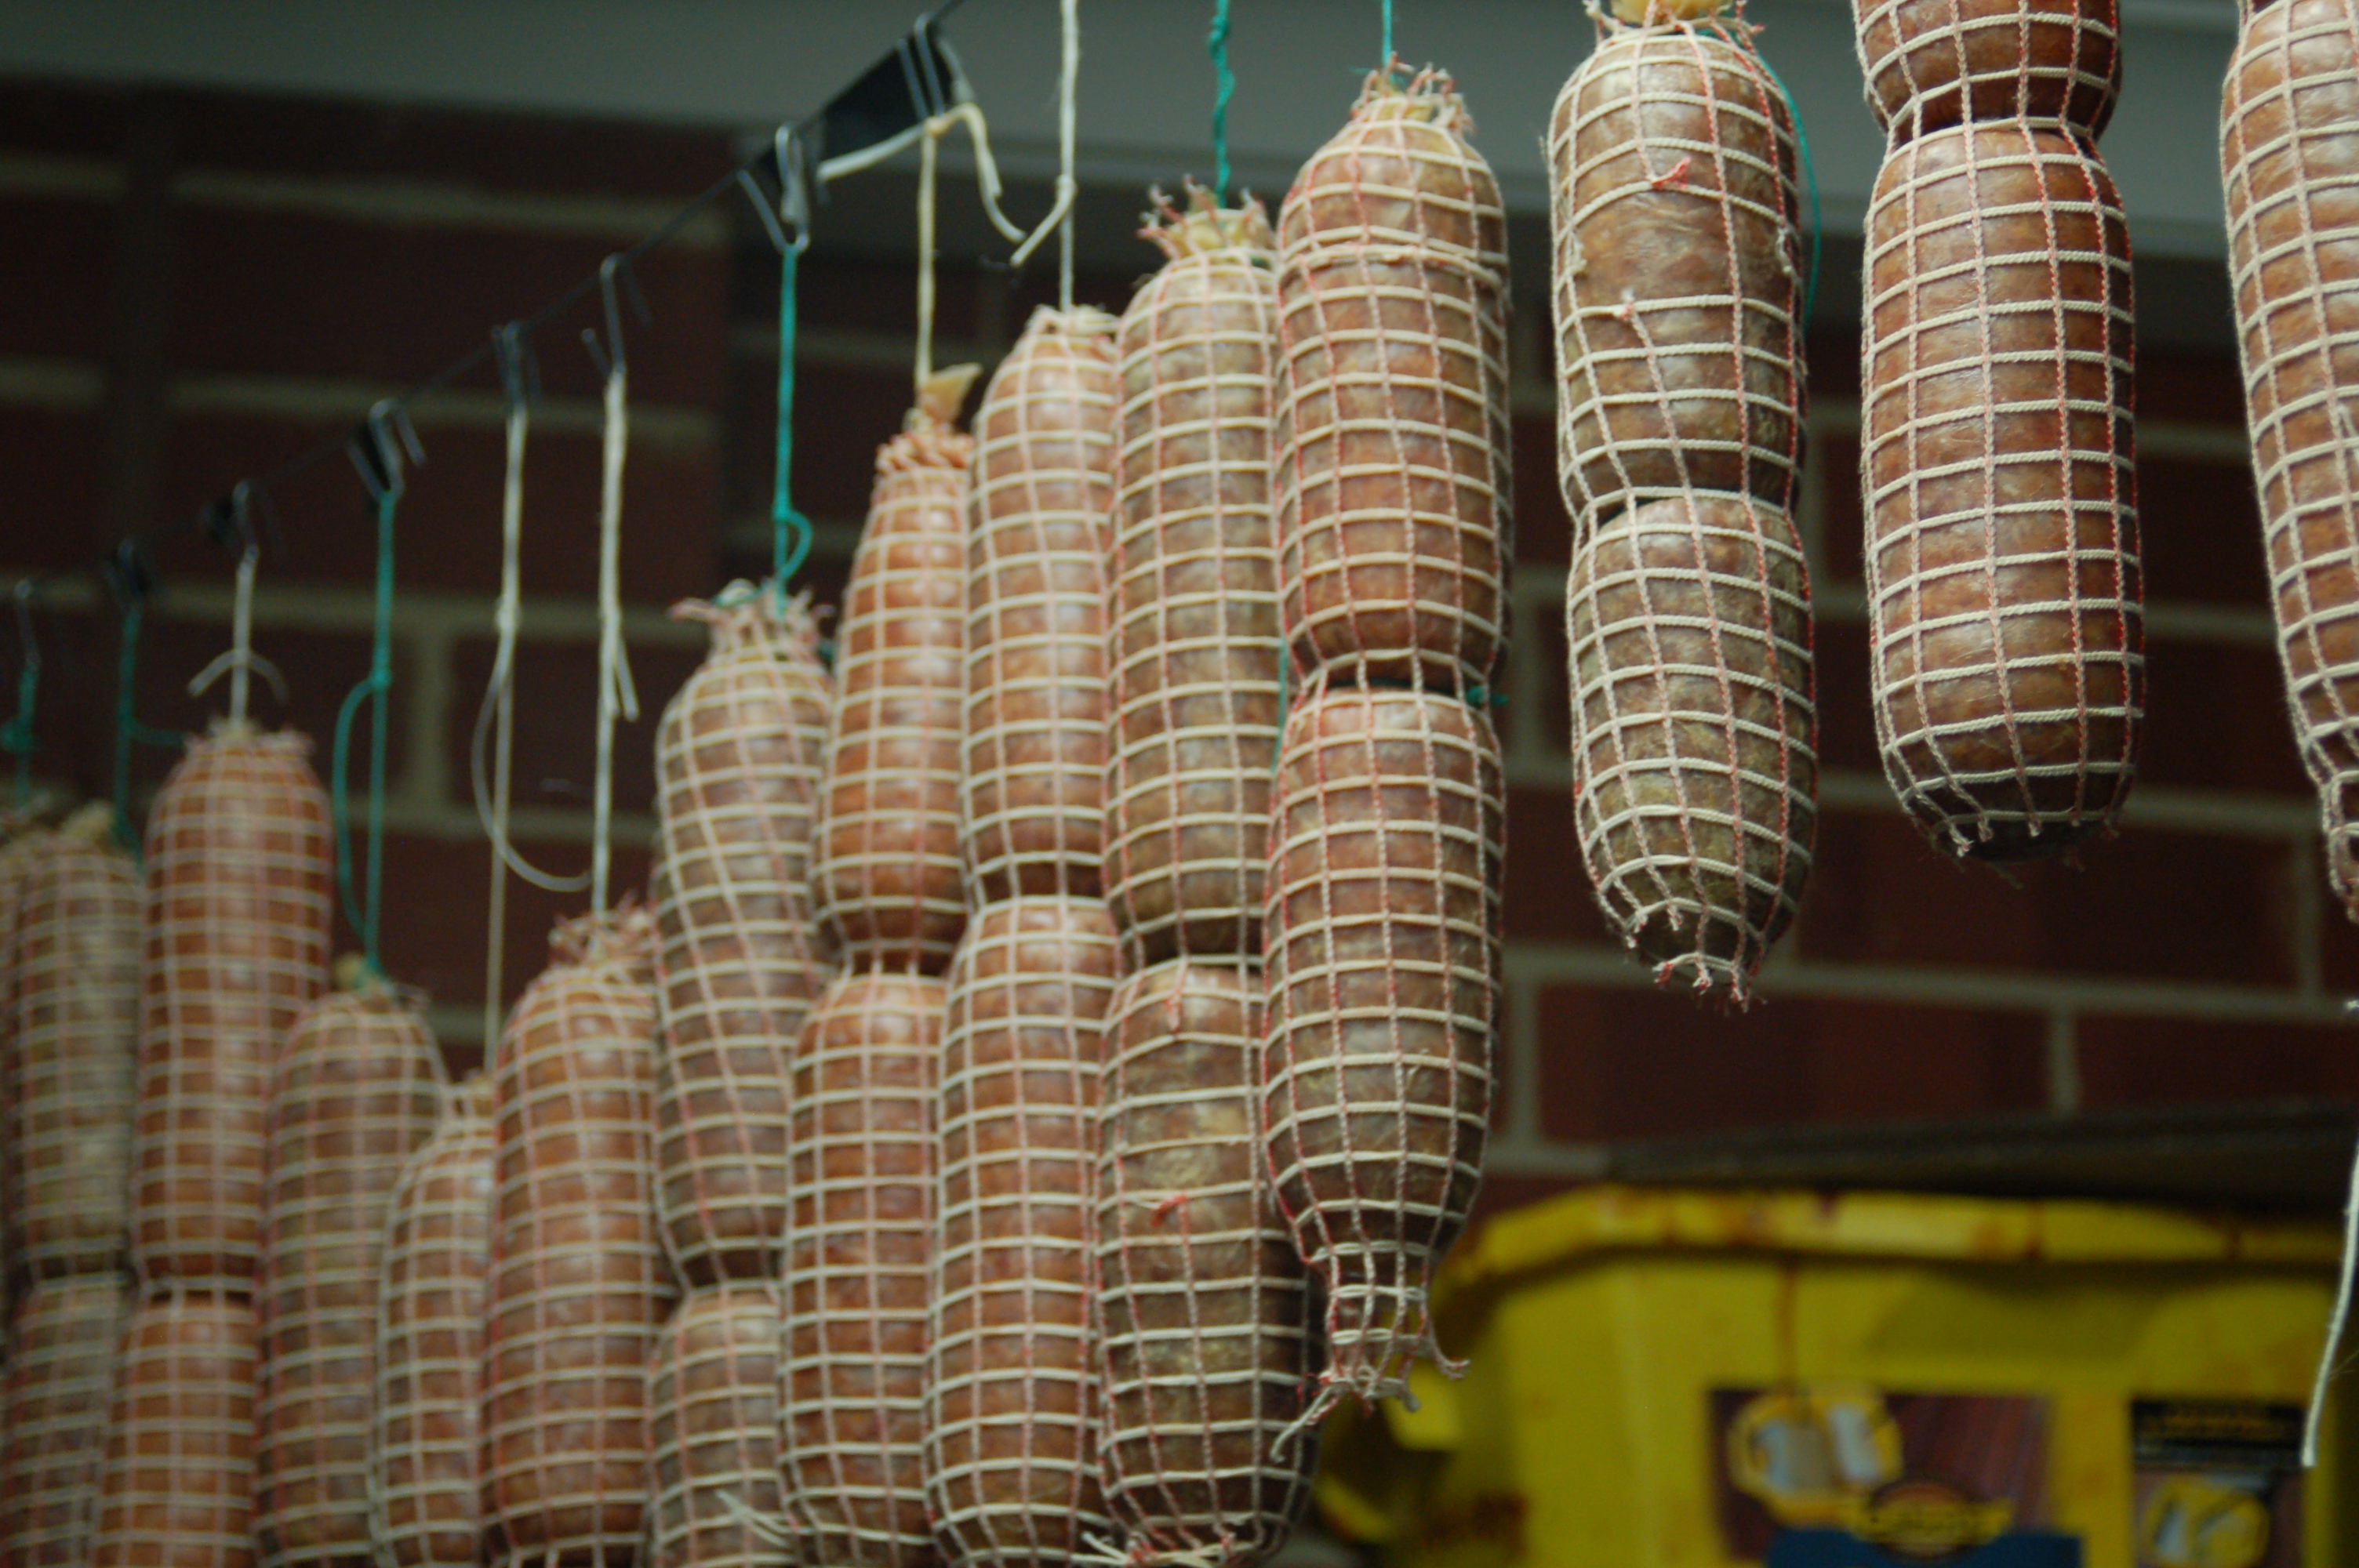
Netting
The final step before hanging is to put the salami in netting. This helps keep the pressure on the salami as they dry and shrink. The netting is quite difficult to stretch, so putting it on without the assistance of a tool is really difficult. There are plastic tools you can buy to help, but we didn’t have one, so we improvised with a tennis ball can and a long neck beer bottle.
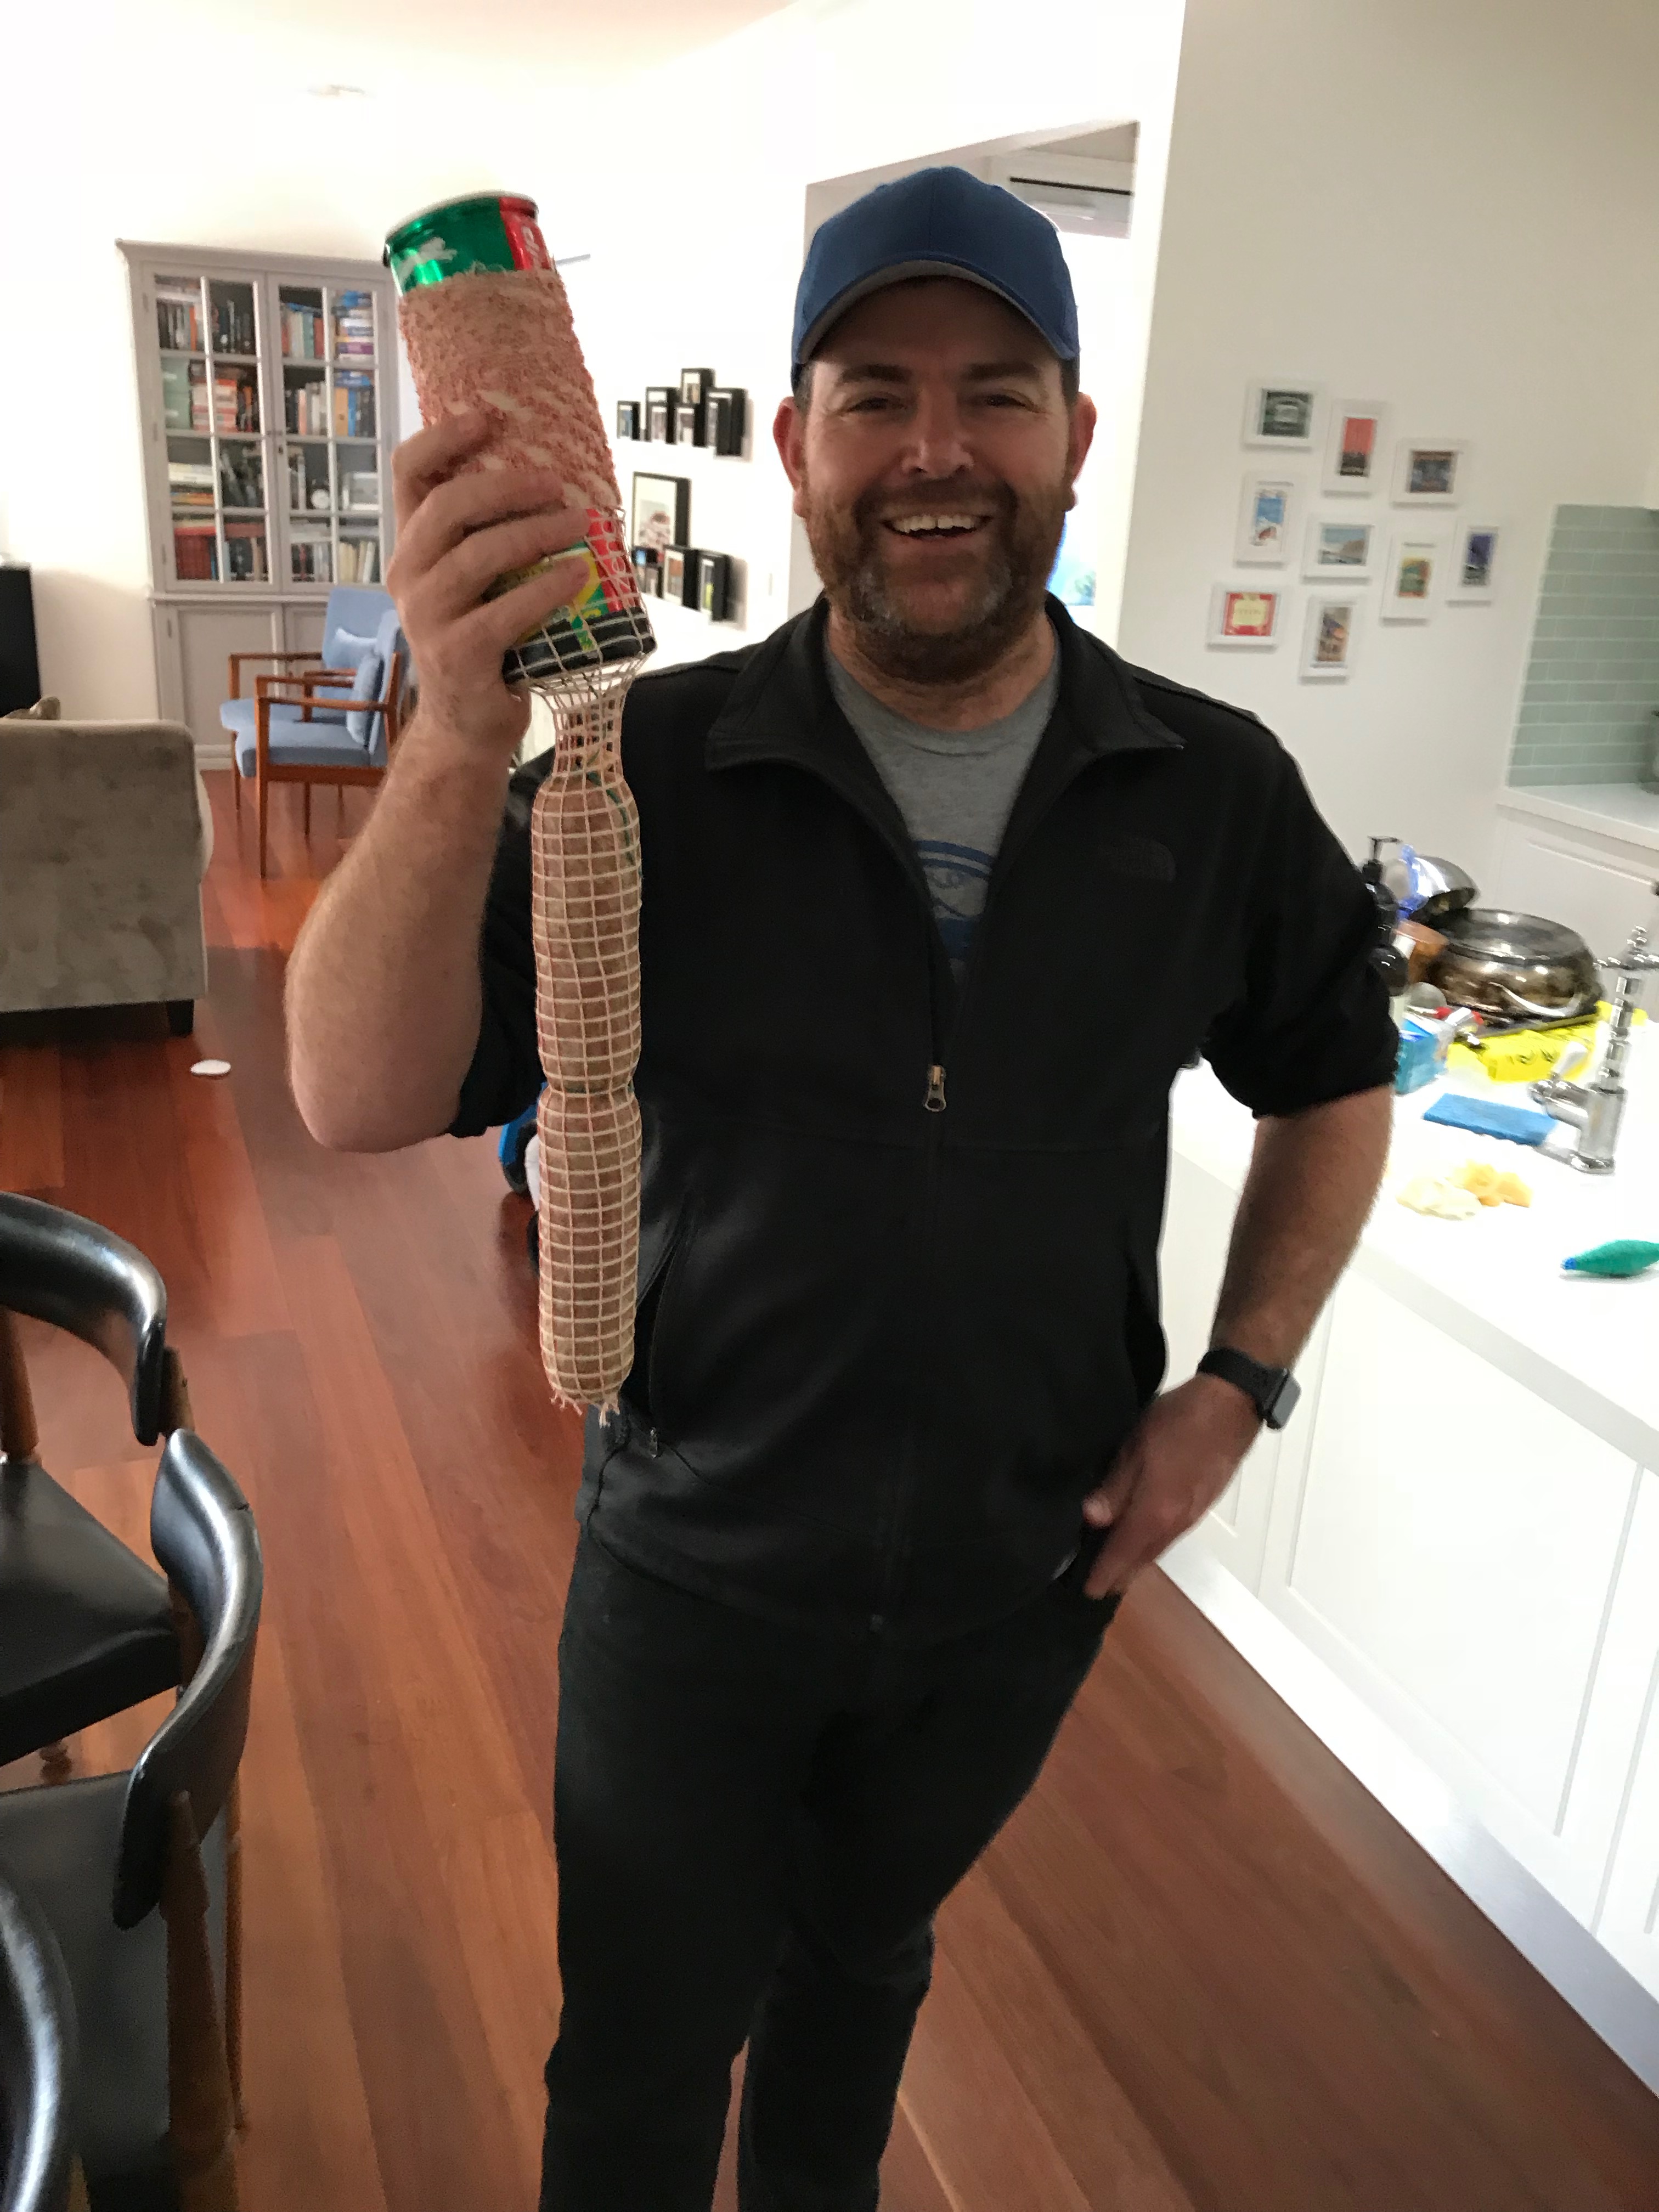
We took the end caps off the tube, placed the base of the beer bottle at one end and slowly pushed up the neck of the bottle, past the body and on to the tube – leave a bit of netting hanging off the end.
Drop each salami through the tube – it should catch the netting that is hanging, allowing you to pull it through, encasing the salami in the netting.
Cut the netting at the end – be careful not to cut the string!
Repeat for all the other salamis
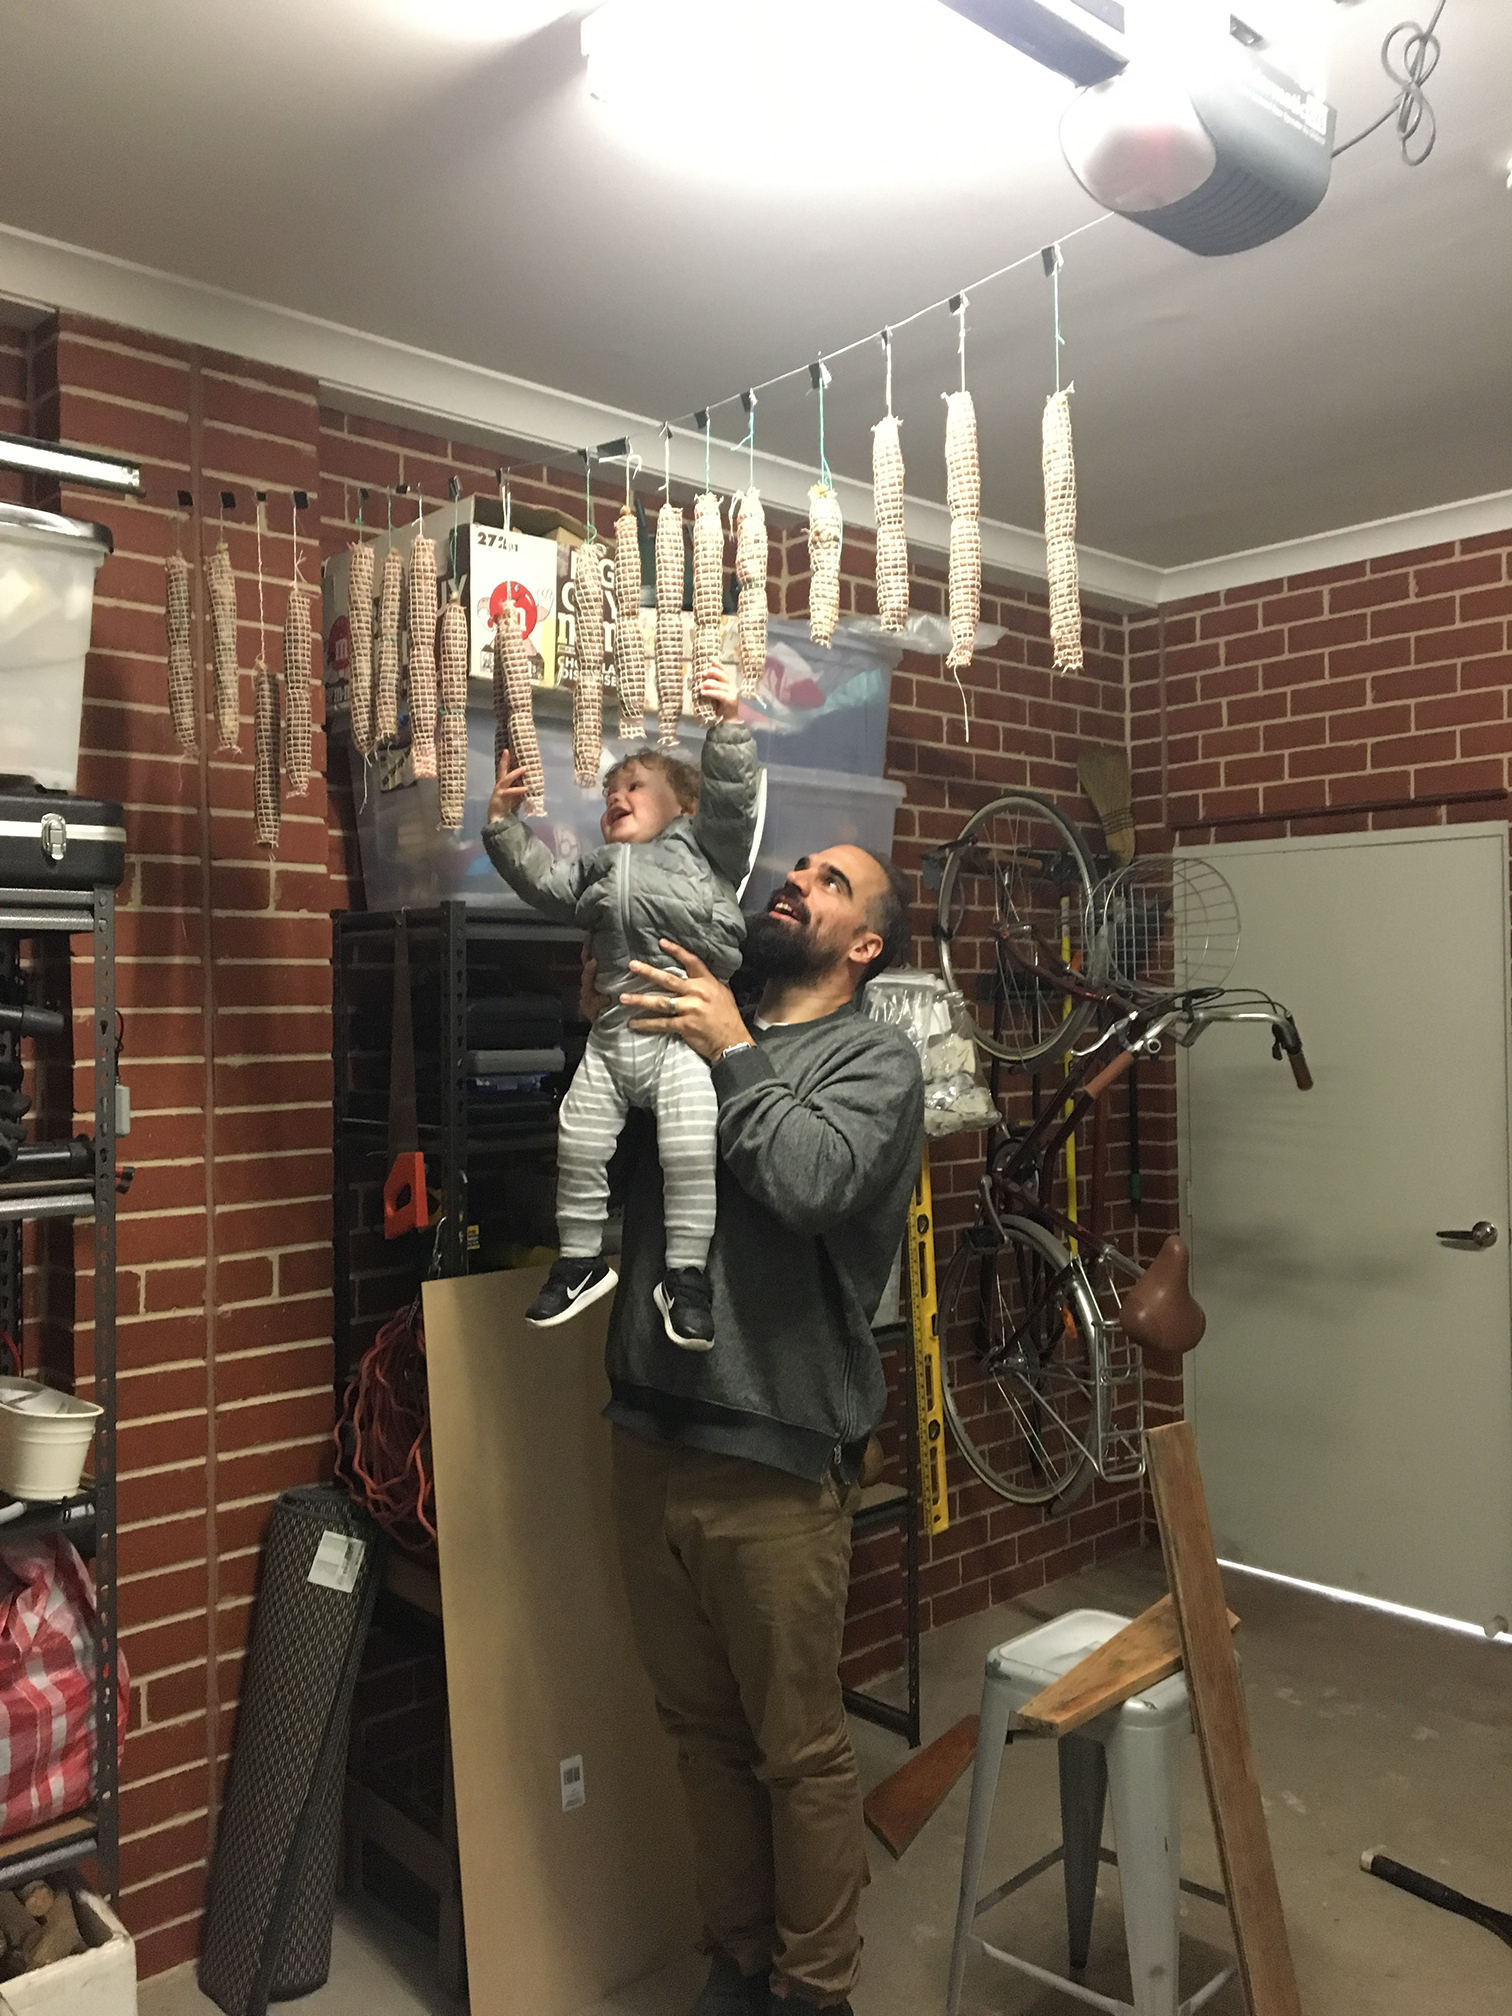
Hanging
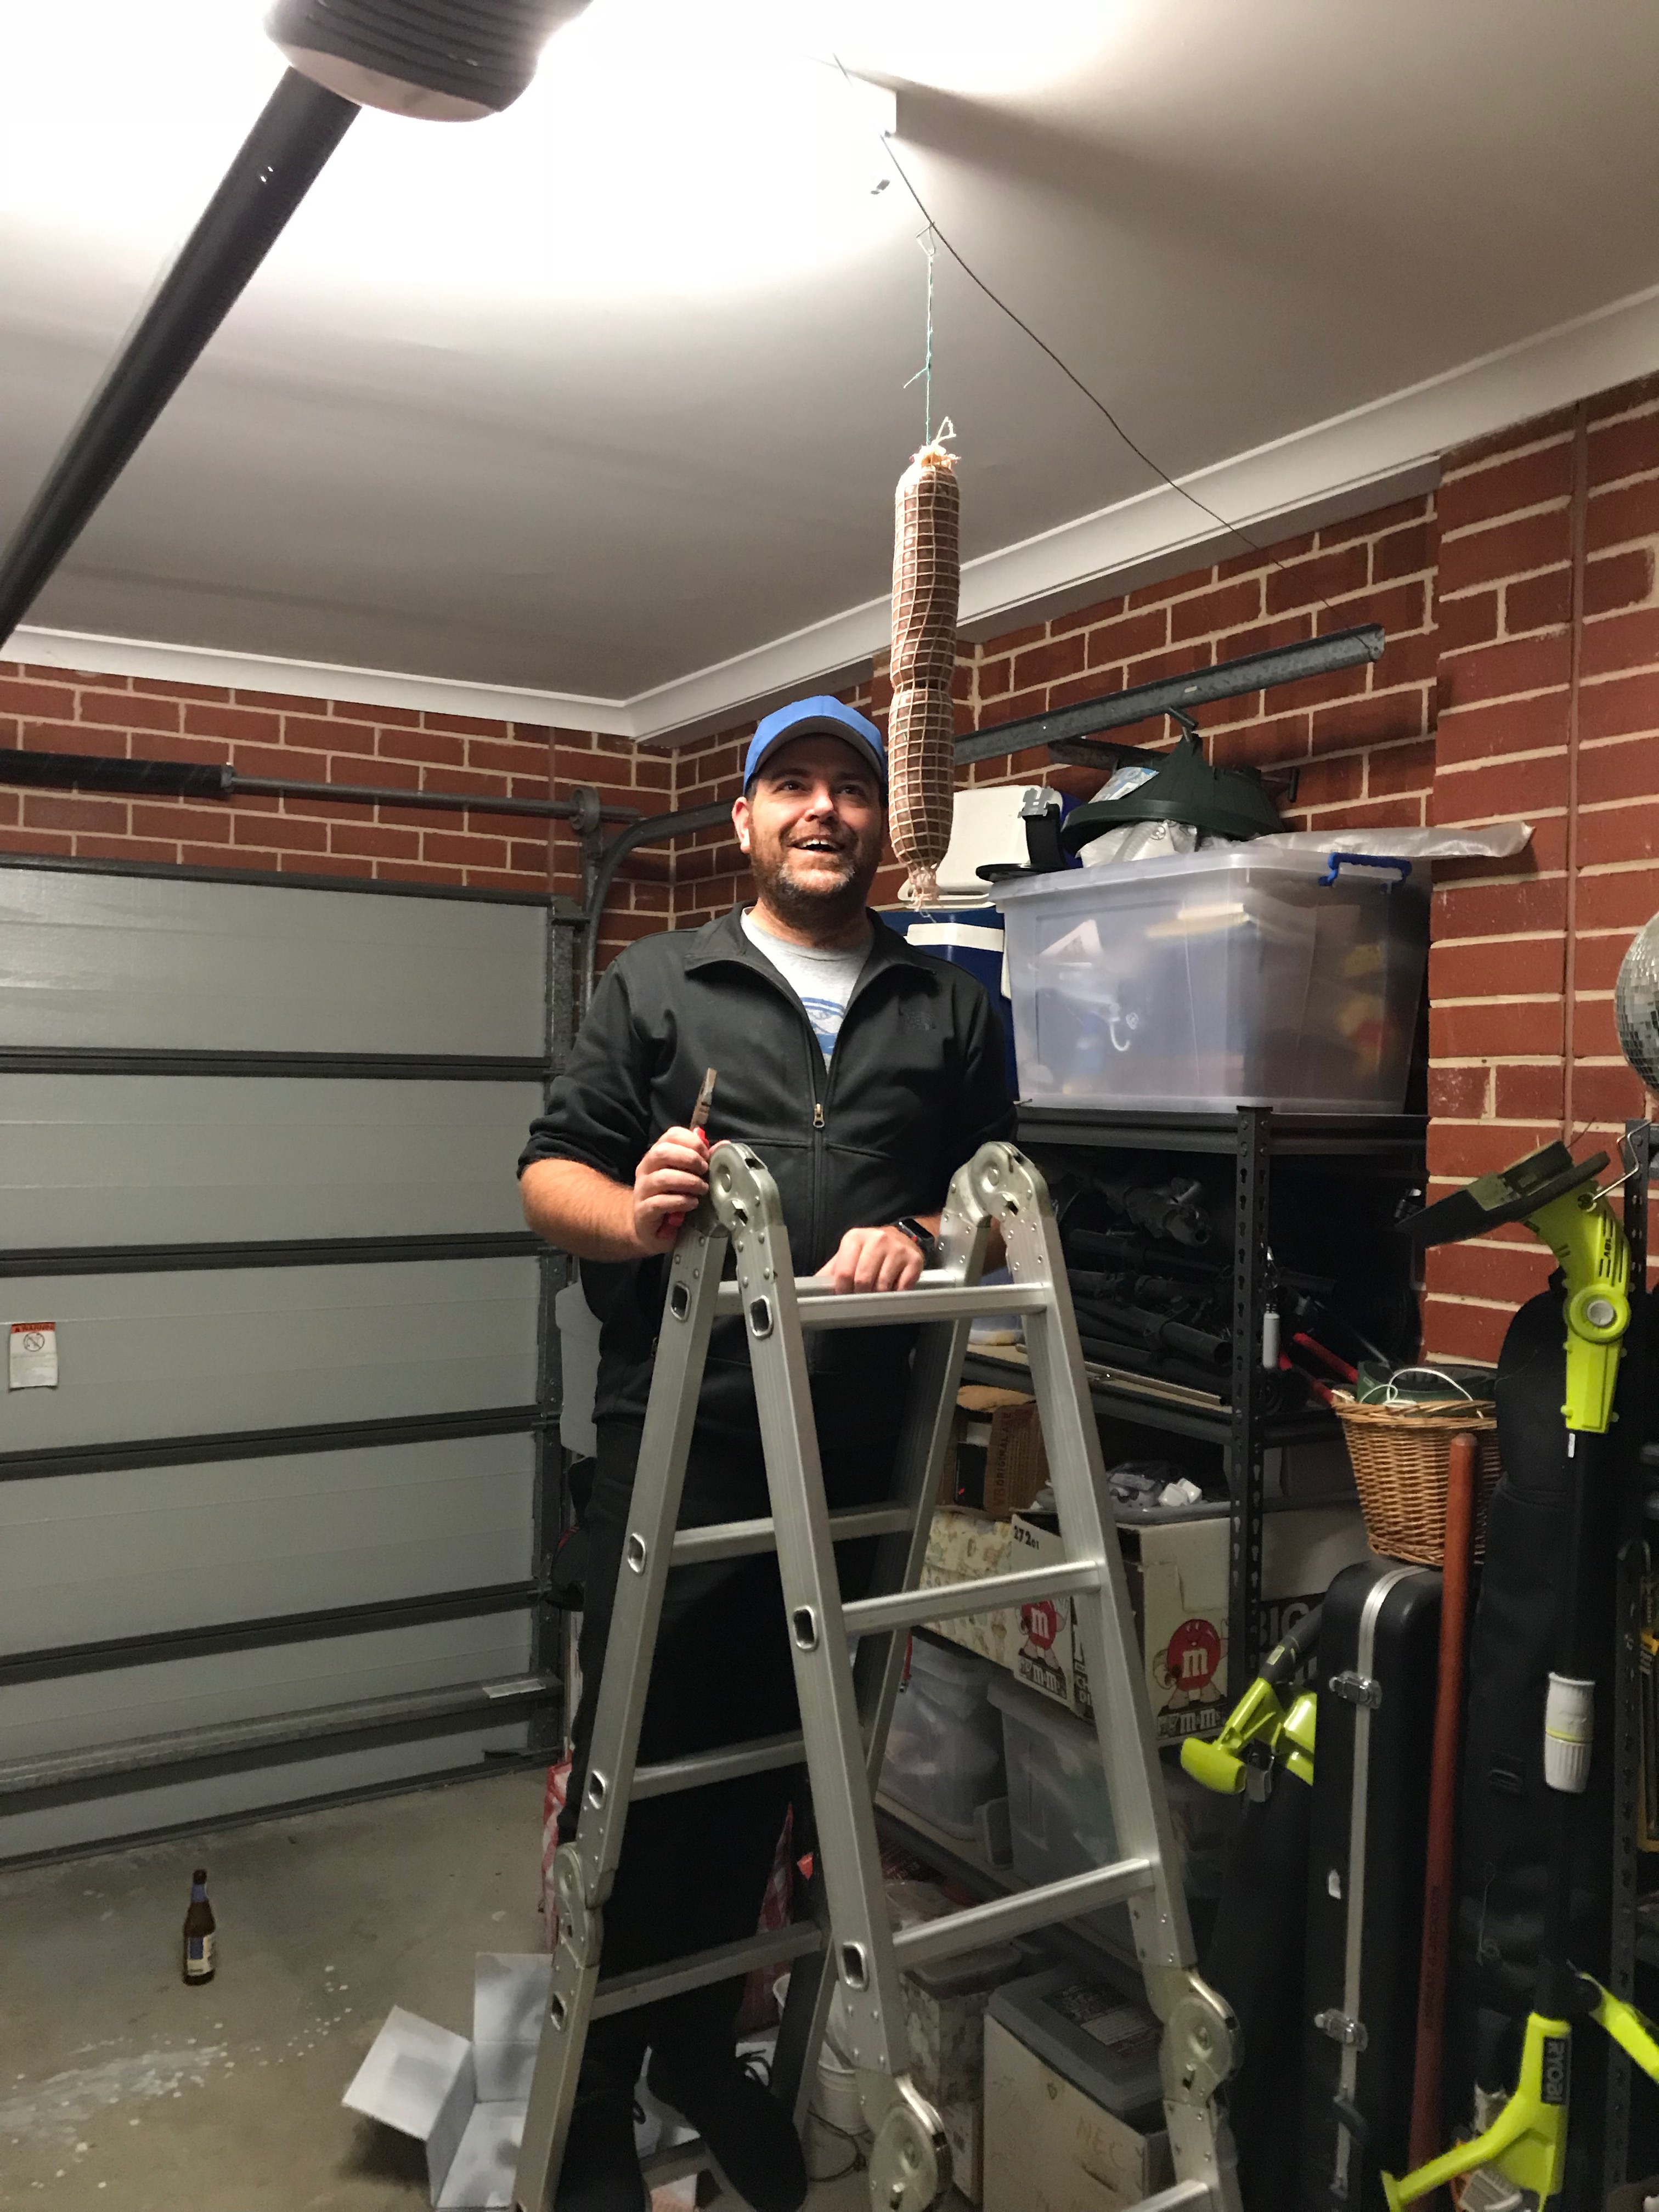
I have an enclosed garage, which I don’t park a car in, so we hung them up there on a piece of wire.
We were told that it should take about six-weeks.
Things to look for
Of course, like most cooking, time is just a easy proxy for doneness – having actual indicators is a much better system,
Weight: During the two weeks the salami lose a lot of moisture and should drop around 30% of their weight and visibly shrink. If that doesn’t happen you may have air in the centre which has rotted the meat.
Hardness: the loss of moisture also causes the salami to get hard.
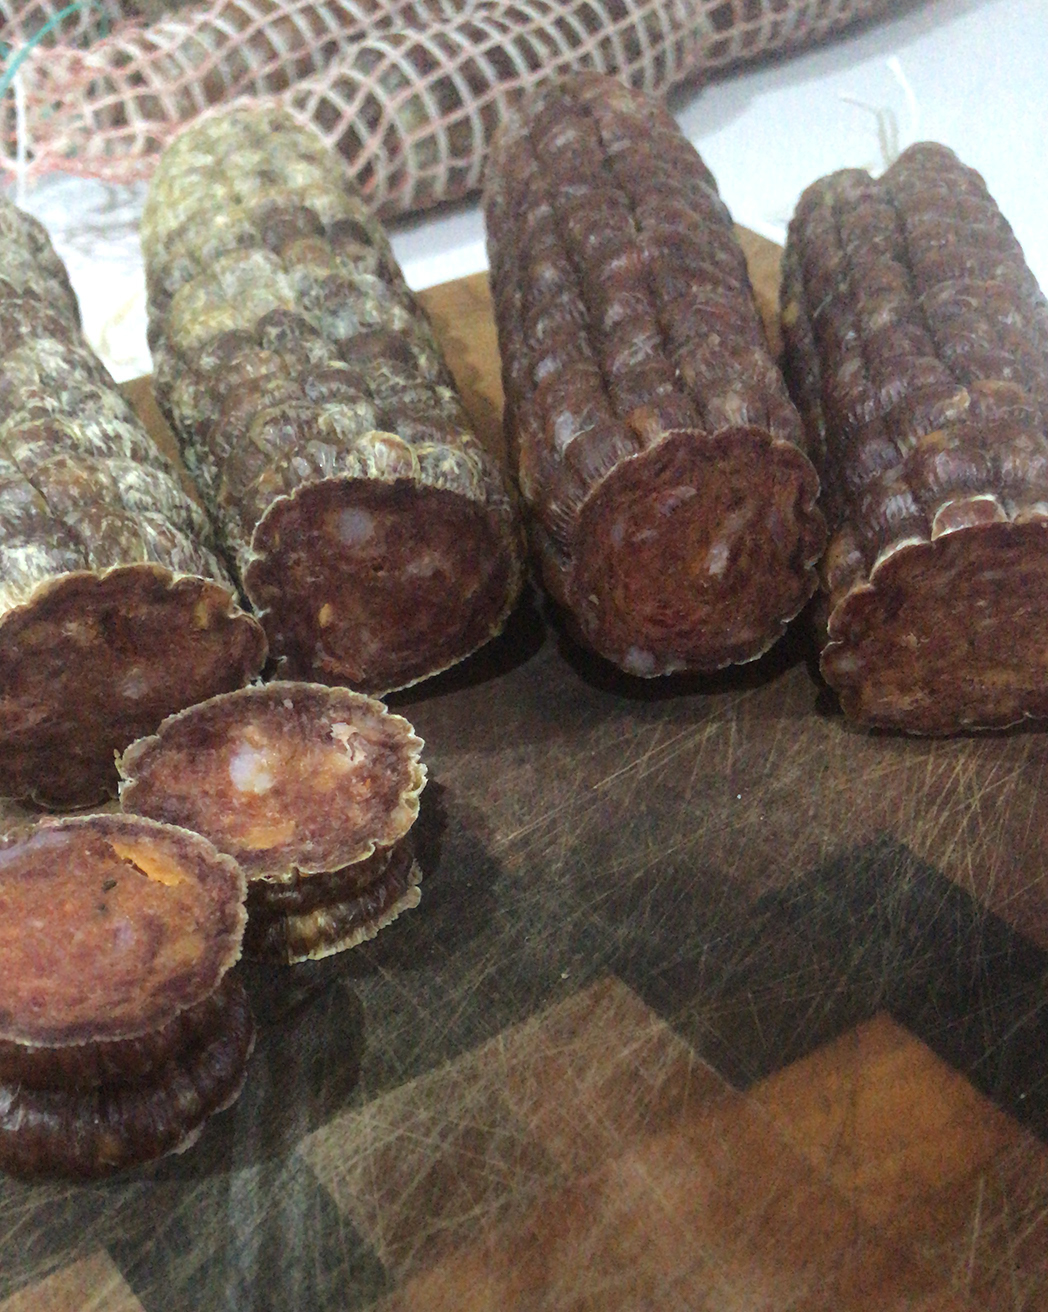
At the end of the six weeks they had both shrunk and got really hard, so I pulled them down and cut them open.
The opening
I sliced each open either side of the middle tie, and cut the ends off. I was looking for a nice dark red colour – brown or grey is bad.
I had a suspicion that the casings has dried out – a problem caused by low humidity, and cutting them open confirmed that. Some of the casings had lifted from the meat at the end, and the meat had gone off at these points. So I discarded those sections. All in all we lost about two salami worth – not a bad yield for first timers.
Taste test
The traditional recipe was good, but nothing spectacular – it probably had a little too much fennel. The Moroccan inspired recipe was delicious with a nice heat to it. Both were possibly a little too salty.
Things to fix
Avoid spoilage – We need a proper sausage stuffer. The sausage attachment on the Kitchenaid is not ideal, and curing meats is way more prone to bacteria infection than fresh sausages that are cooked with in a couple of days.
Dry casings – there is possibly two issues here:
- More humidity. Looking at my graphs my garage humidity was too low: around 50-60%. I’m looking into building a curing chamber so I can control that (and the temperature) with science.
- Using synthetic casings – they are more plasticity than natural ones.
I suspect the humidity is the main culprit here, so I’ll stick with the casings for the next batch, so as to not change too many dependent variables.
Improve efficiency – I would also like to get a clamping gun to ensure all the ends are properly sealed, which should further reduce spoilage. I would also look into getting a netting tool, because trying to get the nets on is a pain without one.